 |
| "Magnolia flowers at the base of the Eiffel Tower 5" by Bruno Monginoux on Landscape-Photo.net
The Eiffel Tower was built to be the main exhibition at the 1889 World's Fair, commemorating the 100 year anniversary of the French Revolution. Originally intended to stand for only twenty years, the tower received criticism and contempt from many artists of that time. However, throughout the decades the Eiffel Tower has become the most iconic monument in France.
Step 1: Draw an arc.
Step 2: Draw two lines touching the arc.
Step 3: Draw two parallel lines next to each of the previous lines, and a line connecting them on the bottom.
Step 4: Draw vertical lines above the arc and two horizontal lines at the top.
Step 5: Draw crisscrossing lines on the two legs of the tower.
Step 6: Draw three more horizontal lines above that and six tiny vertical lines intersecting them.
Step 7: Draw two pairs of curved lines coming out of that with three horizontal lines intersecting them at the top.
Step 8: Draw crisscrossing lines between the two pairs of curved lines.
Step 9: Draw four steep but not quite vertical lines coming out of that section, but halfway up have the center two connect to form one line.
Step 10: Draw the crisscrossing lines on this section.
Step 11: Draw the top of the tower with the antennae at the top.
Step 11: I drew in the background with the building behind it and the Champ de Mars garden.
|
Sunday, May 11, 2014
How to Draw the Eiffel Tower
Sunday, March 9, 2014
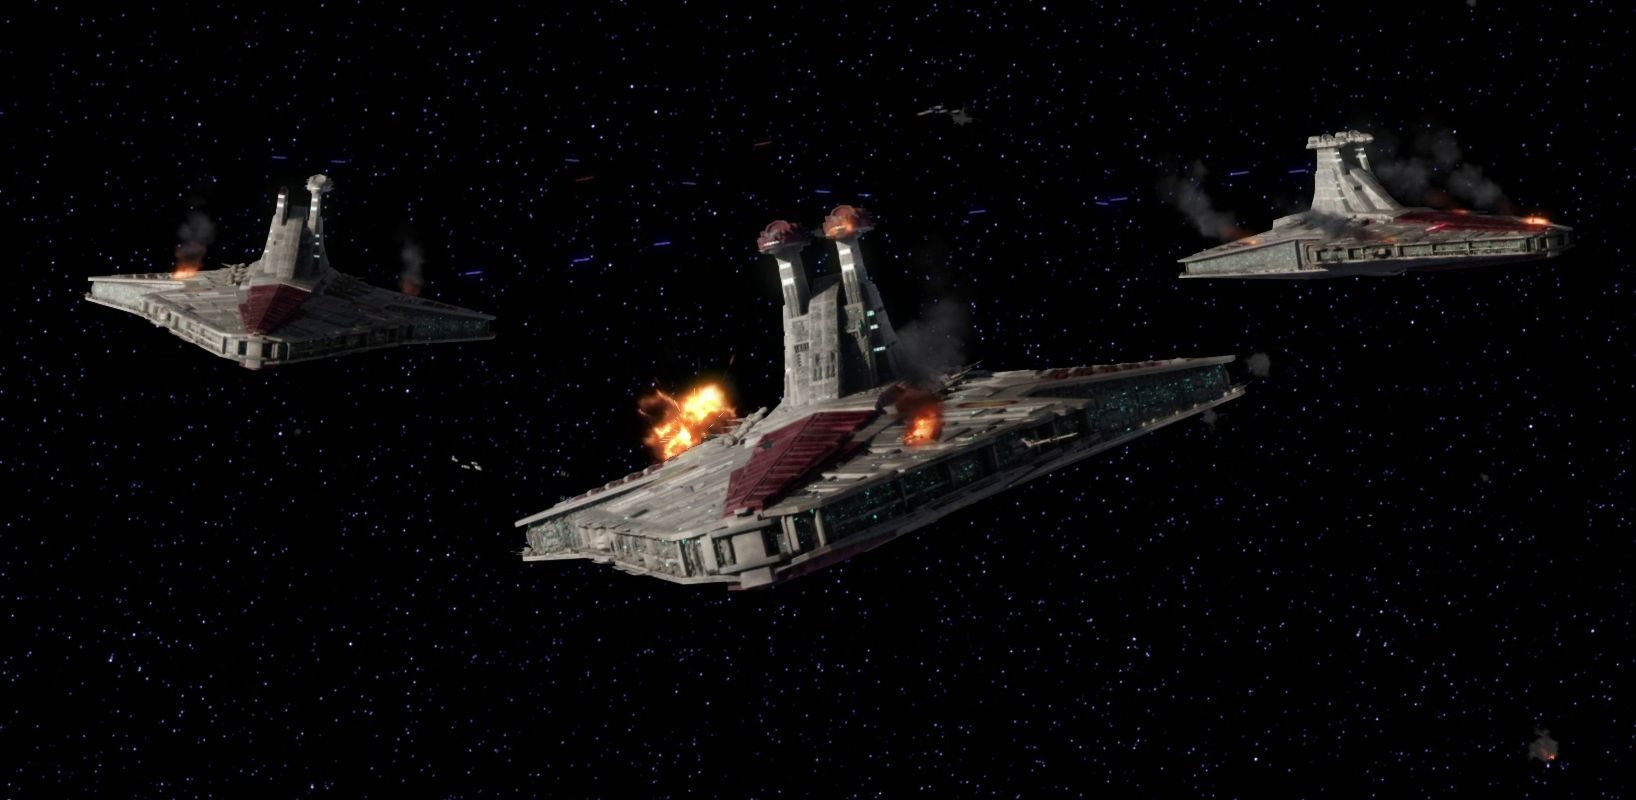
Learn to Draw a Venator Class Star Destroyer
Wednesday, March 5, 2014
How to Draw a Lockheed Model 12 Electra
 |
"1936 Lockheed 12A" by FlugKerl2 on Wikimedia. |
The Lockheed Model 12 Electra Junior is a twin-engine transport aircraft of the late 1930s designed for use by small airlines, companies, and wealthy private individuals. It is a smaller version of the Model 10 Electra, the plane Amelia Earhart was lost flying. It was also the aircraft seen at the end of the movie "Casablanca." Only 130 were built in total because when World War II began Lockheed started producing warplanes like the Lockheed P-38 Lightening.
Step 1: Draw the fuselage of the plane.
Step 2: Draw the wings.
Step 3: Draw a vertical stabilizer and the tailplane.
Step 4: Draw the engines.
Step 5: Draw the windows.
Step 6: Optional: I decided to draw landing gear so I could draw the plane on the ground instead of in the air.
Step 7: I went over it in pen, then drew a desert for the plane to be in. Finally I colored the drawing. I attempted to make the plane look abandoned and rusted.
Tuesday, March 4, 2014
Learn to Draw an Aircraft Carrier
Saturday, February 22, 2014
How do draw an Apollo Lunar Module
"Space Station Moon Landing Apollo 15 James Irwin" on Pixabay by WikiImages.
From 1969 to 1972, NASA sent Apollo 11, 12, 13, 14, 15, 16, and 17 to the moon. Only in the case of Apollo 13 did the astronauts not land on the moon. After leaving the atmosphere, the rocket that carried the astronauts into space was jettisoned. The remaining spacecraft consisted of the Command Module, where the astronauts lived, the Service Module, where the gasses and fuel were stored, and the Lunar Module, the section that detached and landed on the moon. There were subtle differences between each of the Lunar Modules used on the different missions. After their time on the moon was up, the top half of the Lunar Module took them back up into space, where they docked with the Command Module and returned to Earth.
Step 1: Draw a box.
|
Step 2: Draw the legs.
Step 3: Draw the crew compartment.
Step 4: Draw two horizontal and two vertical lines.
Step 6: Draw the main structure and the thrusters.
Step 7: Add the windows and other details.
Step 8: Draw the ladder.
Step 9: Shade in the dark parts.
Step 10: Draw in the moon.
Step 11: Color. (Note: I took a shortcut and colored space and the stars in MS paint)
Subscribe to:
Comments (Atom)


